Construction Details
Build Details
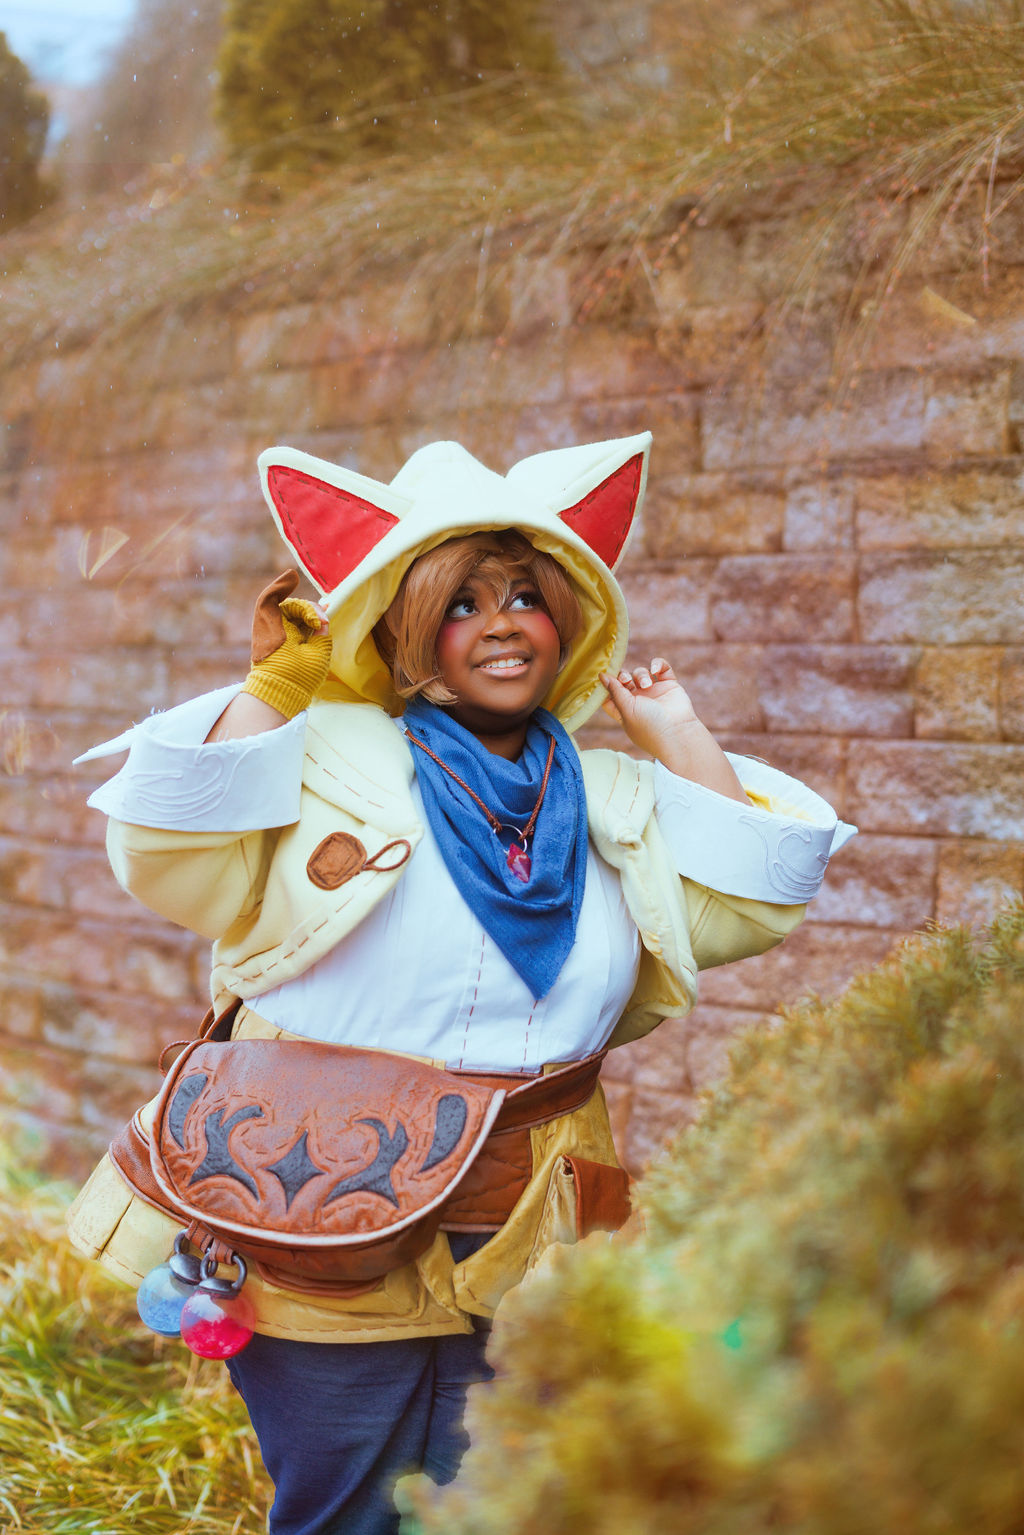
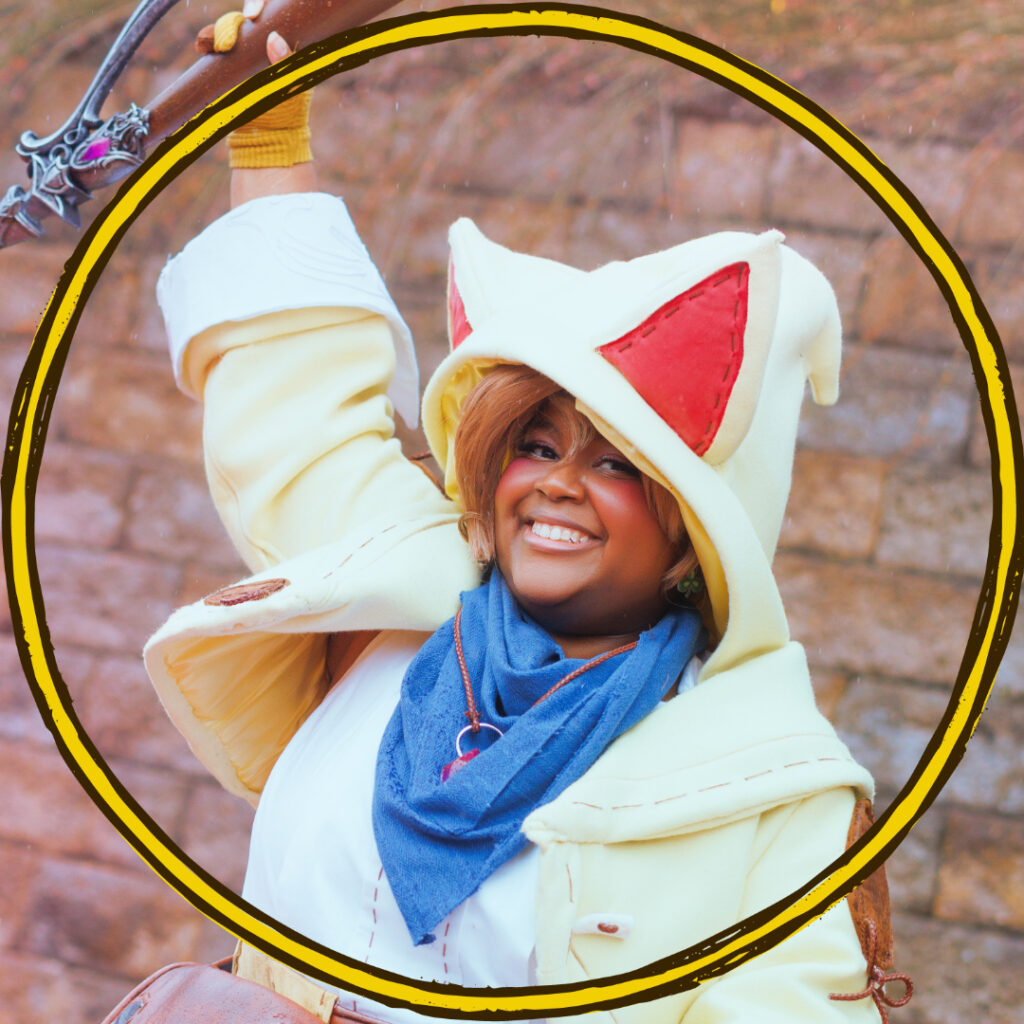
Wig
My first interfaction of this wig was a helmet wig. But its a bit uncomfortable so I plan to make a second one with a soft core.
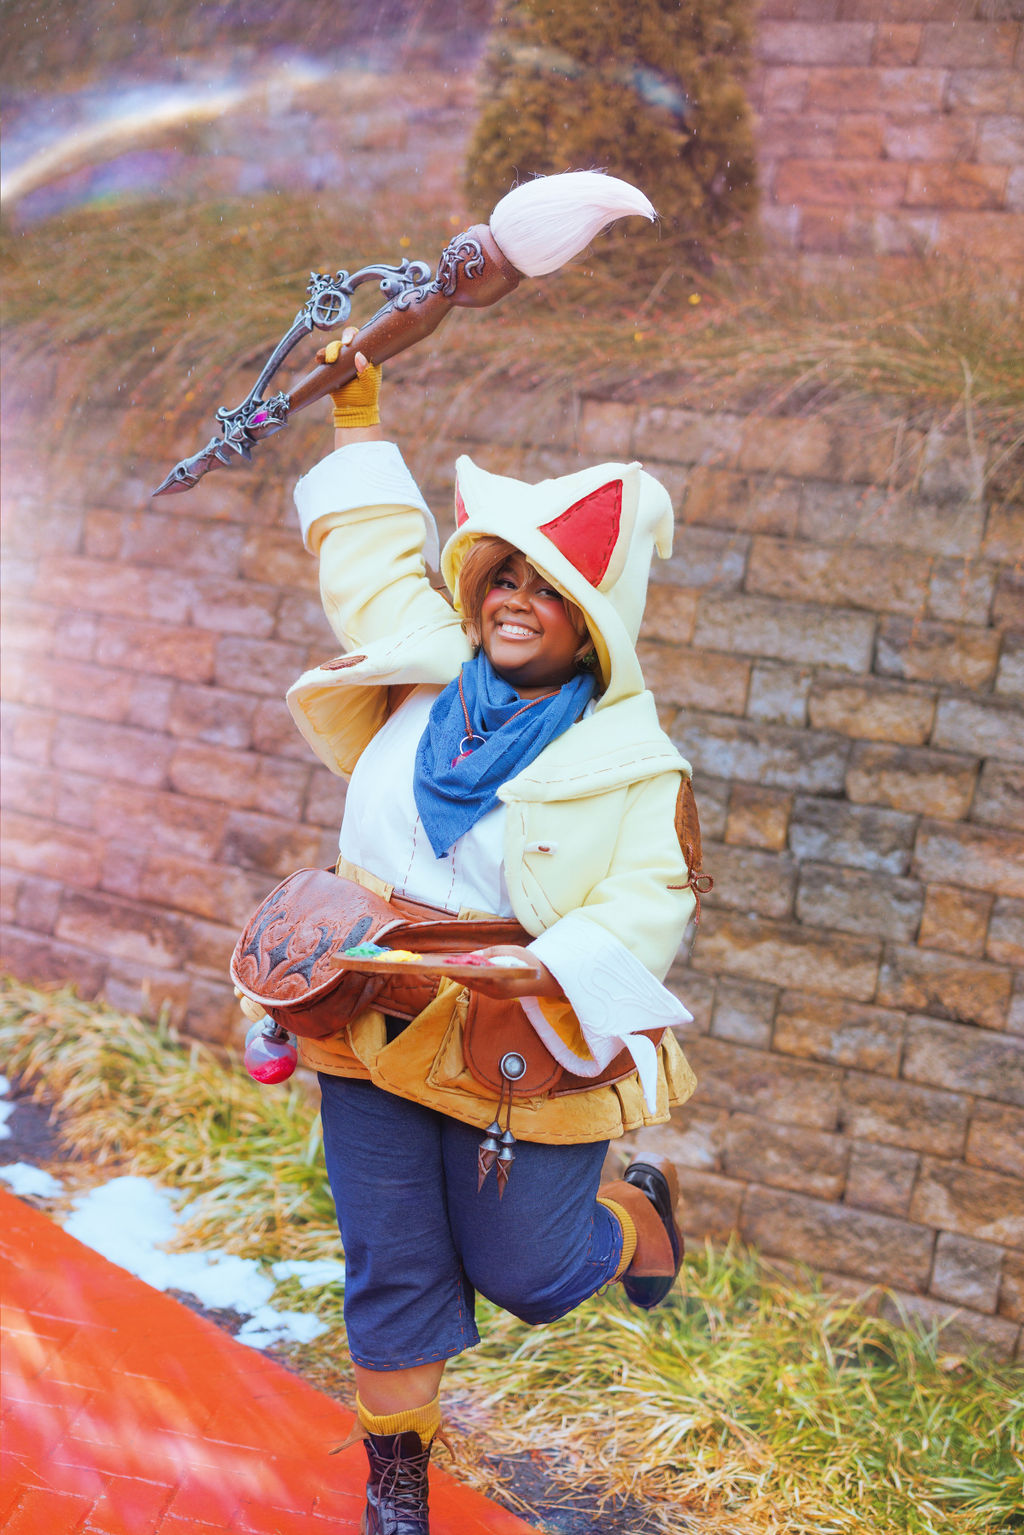
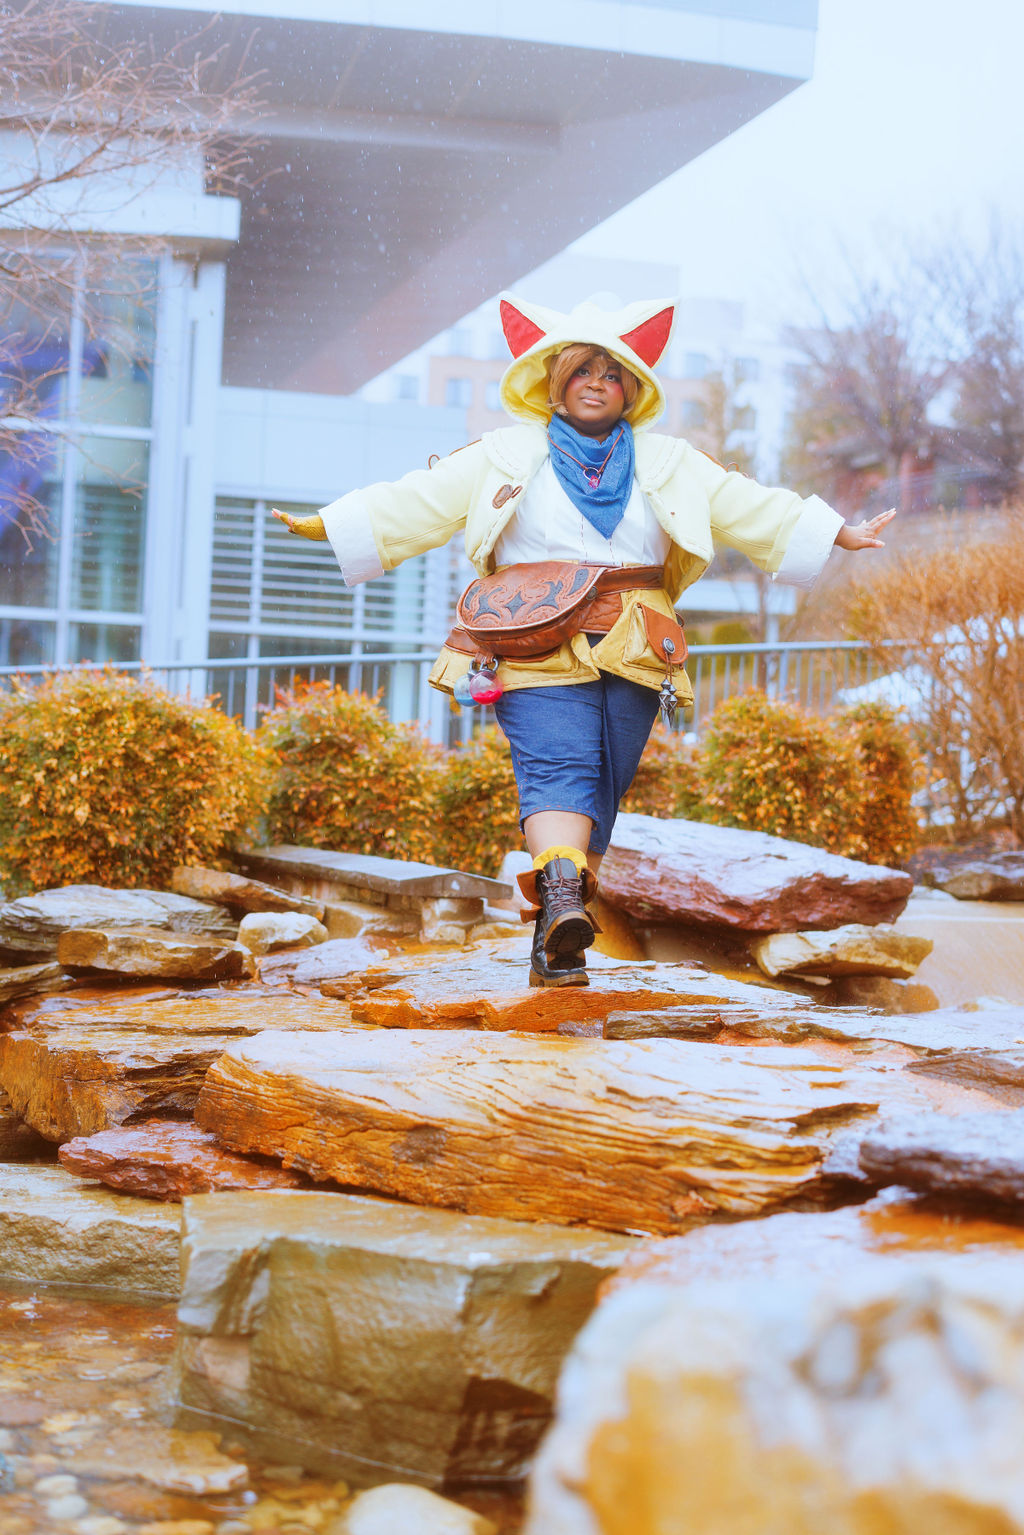
Jacket
I started with a self drafted pattern, as the crazy shape of this cropped jacket would not allow for an easy modification for a ready made one.
The body of jacket is polyester wool, interlined with cotton broadcloth and lined with polyester lining. The front was interfaced with hair canvas to allow for pad stitching on the lapels while the rest of the body has woven interfacing.
The cuffs were made cotton dobby with soutache sewn on for the raised details. I got a base for the applique pattern by ripping textures from the game.
The hood was deceptively tricky, I really wanted it to have that round open shape to make the game. With some brainstorming from the commuity I settled on an understructure of hair canvas, horsehair brain, plastic boning and upholstery foam to keep it lofted on my head.
Sashiko thread was used for decorative stitching. Most of the patch fabric was polyester seude
Neck scarf & Necklace
Originally I planned to knit my own scarf for Krile, but as it was my first time knitting it did not turn out well. I settled to buy a handwoven twill fabric instead for a visible texture.
Since I do not own a resin printer, I tried using Worbla crystal art for the first time. There was a bit of a learning curve but I’m happy with the crystal in the end.
During the initial mixing I used purple resin pigment to dye the crystal, then used a magenta alcohol marker for the gradient. To top it all of and make it extra shiny, I brushed on a layer of UV resin before adding it to the cord.
Shirt
To keep myself cool and save on materials, the undershirt is more of an under tank- there are no sleeves. It is made of the same cotton dobby to match the jacket cuffs.
The lower apron is also attached to the shirt so I didn’t have to deal with keeping it tucked it. It was patterned from a half circle skirt with added pleats and seamlines. In order to get a color I liked, I had to dye the poly suede myself. One of the trickest parts of this whole costume was patterning and sewing those pockets. The hem has horsehair braid added for loft, but it probably could use some more. The leather accents are vinyl.
I patterned the straps to permanently attach to the apron, but the back bag hooks on with hook and eyes.
The 3D printed accessories files came from Dangerous Ladies. They are painted with Vallejo metal color line and weathered with oil paints
Bag
Luckily since this bag is pretty simple it was a breeze to pattern. And with the matching vinyl it wasn’t too hard to sew either. The base is Pellon flex foam for thickness, sandwiched between pleather and a poly lining I had in my stash. The cut out appliques with a bit tricky to keep clean but non of the edges with fray. In order to add some variation I drybrush various shades of brown leather paint.
The paint bottles also came from Dangerous Ladies. It took me a few tests to settle on how make the fake paint. A mixture of polyfil (for filler), glue, and fabric medium would still have an opaque glossy wet look even when dry as opposed to real paint.
Pants
I’ve used the same pants pattern for a lot of my cosplay, a free pattern from Mood. Technically its a shorts pattern but I just extend it into long pants, then took it in at the ankles to match Krile’s silhouette. Just like normal jeans, I flat felled the seams. There’s also a working fly, even is you barely see it.
Surprisingly no pockets since she has a million bags.
Socks & Boots & Glove
The boots were actually from my Island Tataru cosplay, I painted them back with Angelus leather paint and added on a top flap with the same suede used on my jacket.
Once again I faked a lot of things for this cosplay. The socks are really just cuffs that tuck into my actual socks. To add more plushness I interlined the knit with a piece of batting cut on the bais.
Making gloves is not my favorite thing, even this fake cute artist glove. I just did a handturkey method since I was using a stretch knit. I did have to make a tape pattern for my finger as that wouldn’t be a stretch material but it was simple enough.
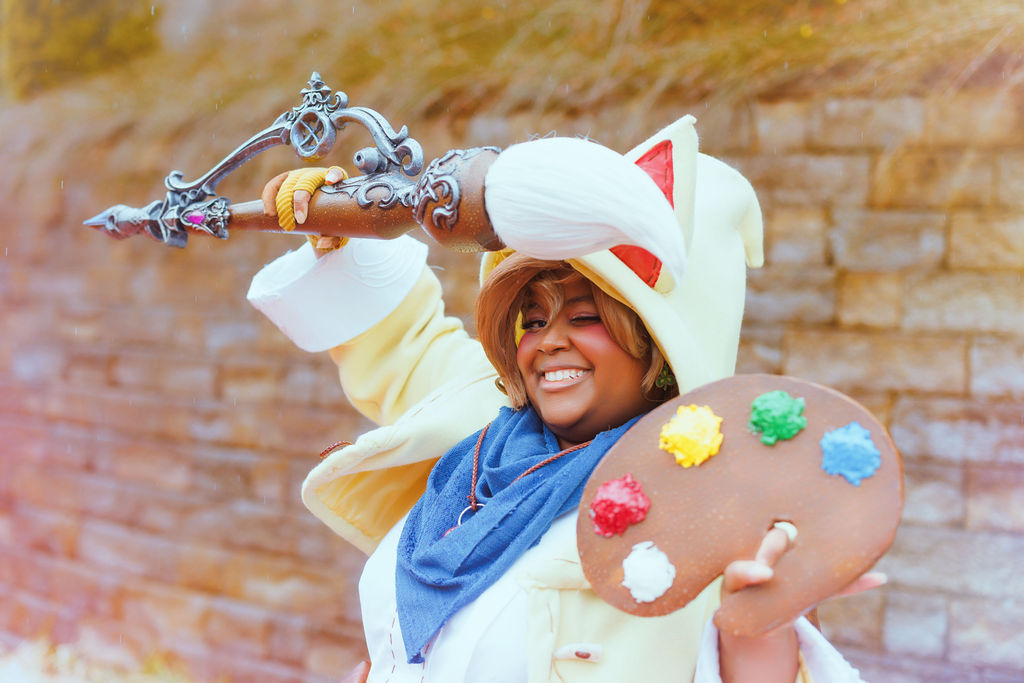
Paintbrush
The paintbrush is probably my favorite piece of this cosplay. Probably because Dangerous Ladies did an amazing job modeling it.
After all the usual sanding and priming, I gave the metal parts a base with a metallic rattle can then sponged on various shades to mimic worn metal. Then I masked that to paint the wood texture with a drybrush technique. The weathering really ties it all together
Since there’s no better way to mimic fibers than with fibers, that’s what I did with the brush. After covering the form with batting, I used tacky glue gel and hairspray with smooth and attach white wig fibers over the form. The matching crystal was also made with Worbla Crystal art.
Palette
After a lot of 3D print finishing I wanted something more simple for the palette. So I returned to an old faithful method: foam.
With two layers of 5mm high density foam I cut out the shape, sealed with plastidip, and painted it with normal acrylic paint. For the paint globs I covered polyfil stuffing in glue, and then modeling paste once it tried. I wanted all the bumps of something organic but still smooth like paint. Once that layer was dry I painted the globs with acrylics and sealed it with two layers of gloss varnish for a wet fresh paint look