Construction Details
Build Details
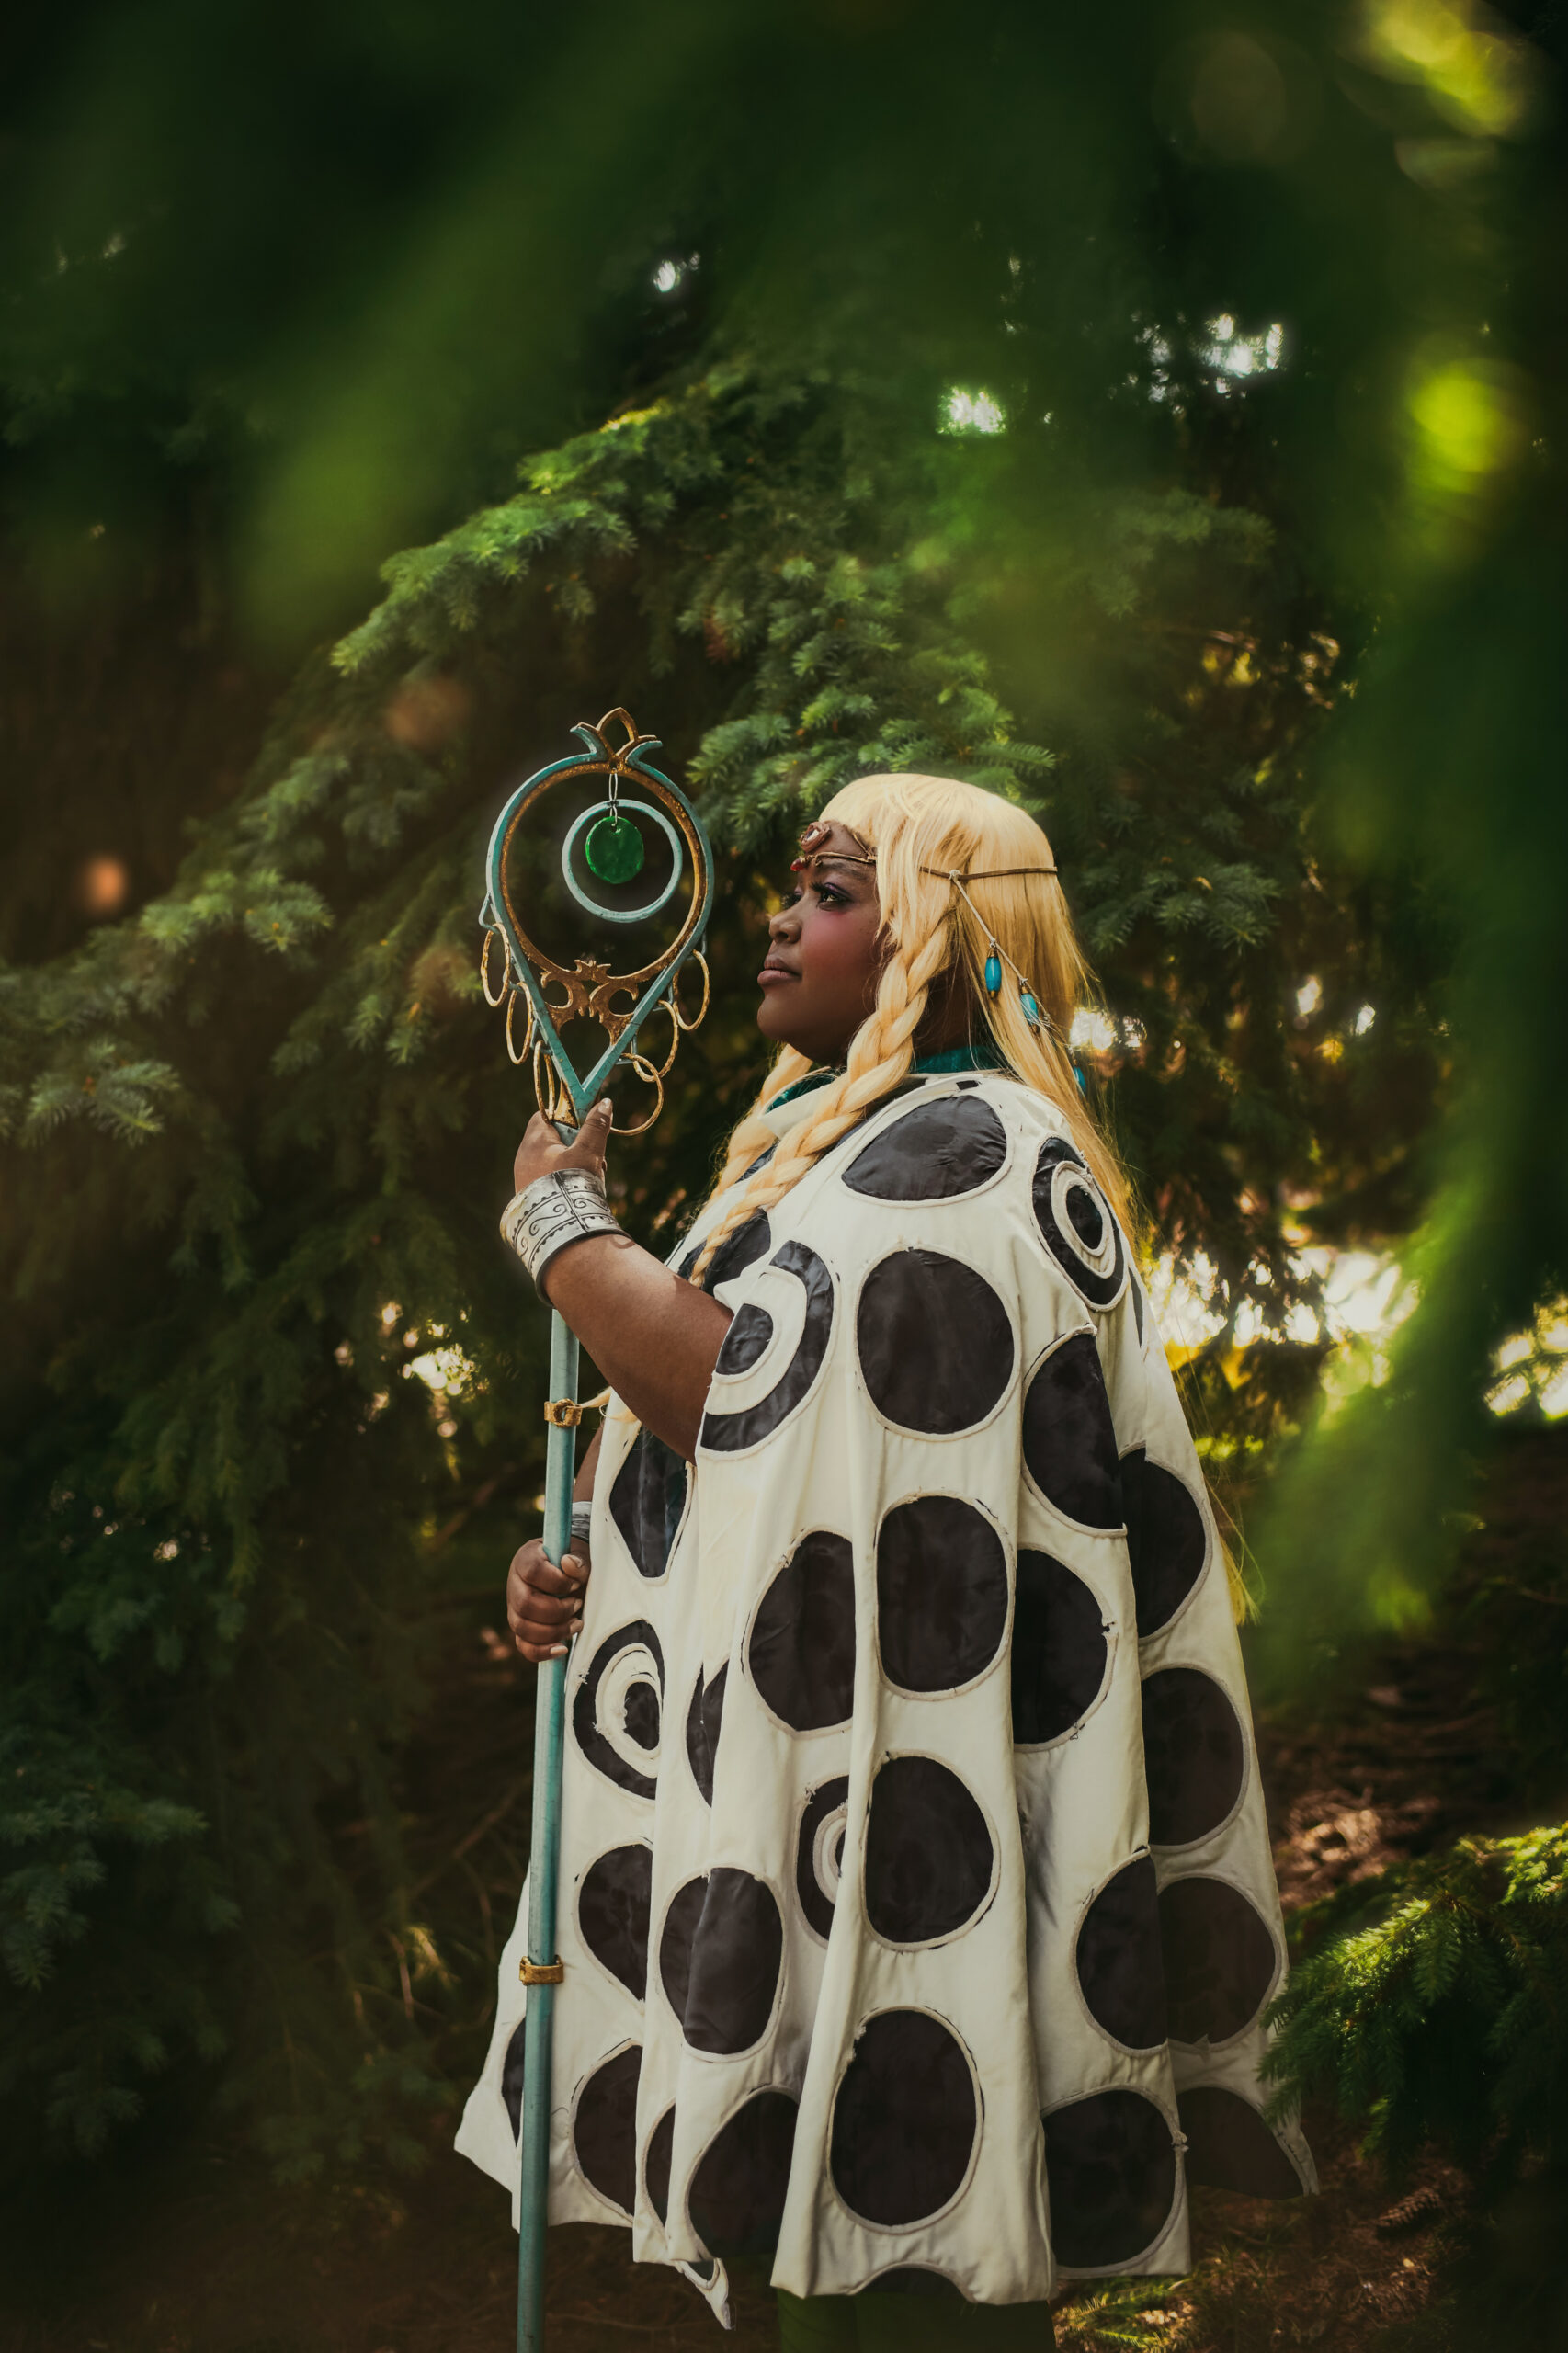
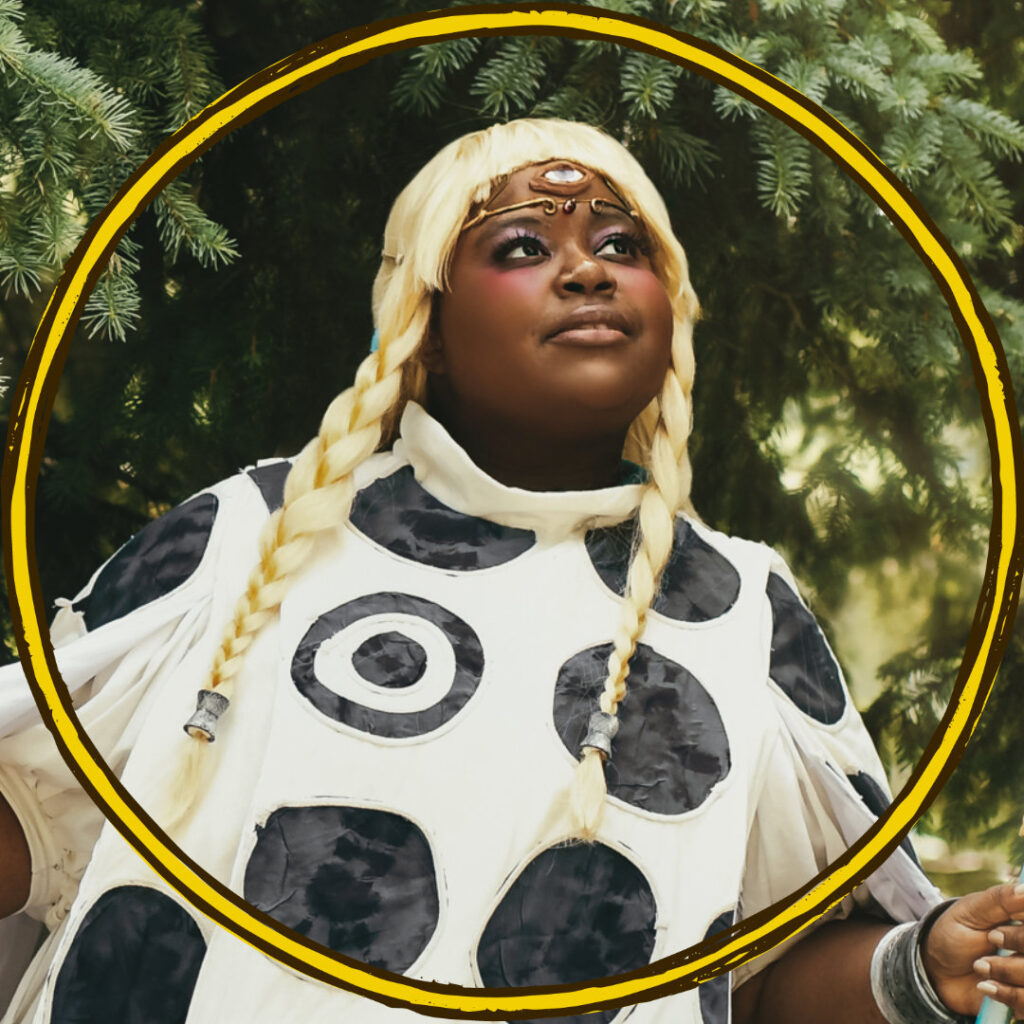
Wig, Crown, Hair cuffs
The wig is an Arda Wigs Venus in the shade Custard. I crimped the sides so the the braids would be thicker and highlighted them with alcohol markers.
Since I wanted push myself technique wise, I decided to make a Two part mold for her crystals. I didn’t do the best job since I’m still a beginner with molding, but with some clean up and a resin topcoat they turned out so pretty. The rest of her crown was modeled by me atop of digital scan of my head. Despite being so delicate it printed fine of my FDM printer.
Unlike the rest of my 3D printed pieces I wanted some texture on the hair caps. A quick dab of modeling paste followed by a sand with a high grit sandpaper is an easy way to achieve a hammer metal texture. To match my other silvers I used the same Rub n Buff shades.
Eye
SFX is quite outside my comfort zone but I’m glad I took the leap. I used a lot of Lighting cosplays videos for reference, first sculpting the eye using platinize clay onto a 3D print of my head. It was comprised for two parts: the inner eye ball and the lid.
Once molded the eye ball was cast in Smooth Cast Onxy, since that’s what I had on hand. After painting white and coloring the iris design with pastels I poured in clear resin to dome the shape. This method is commonly used for making BJD eyes.
Meanwhile the eye lid was done with the encapsulated method so I could blend it into my forehead during application. This time it was cast with Smooth On Dragonskin as it is skin safe and easily colored with their skintone colorants. The encapsulation allows me to dab on makeup to even it out with my actual skin.
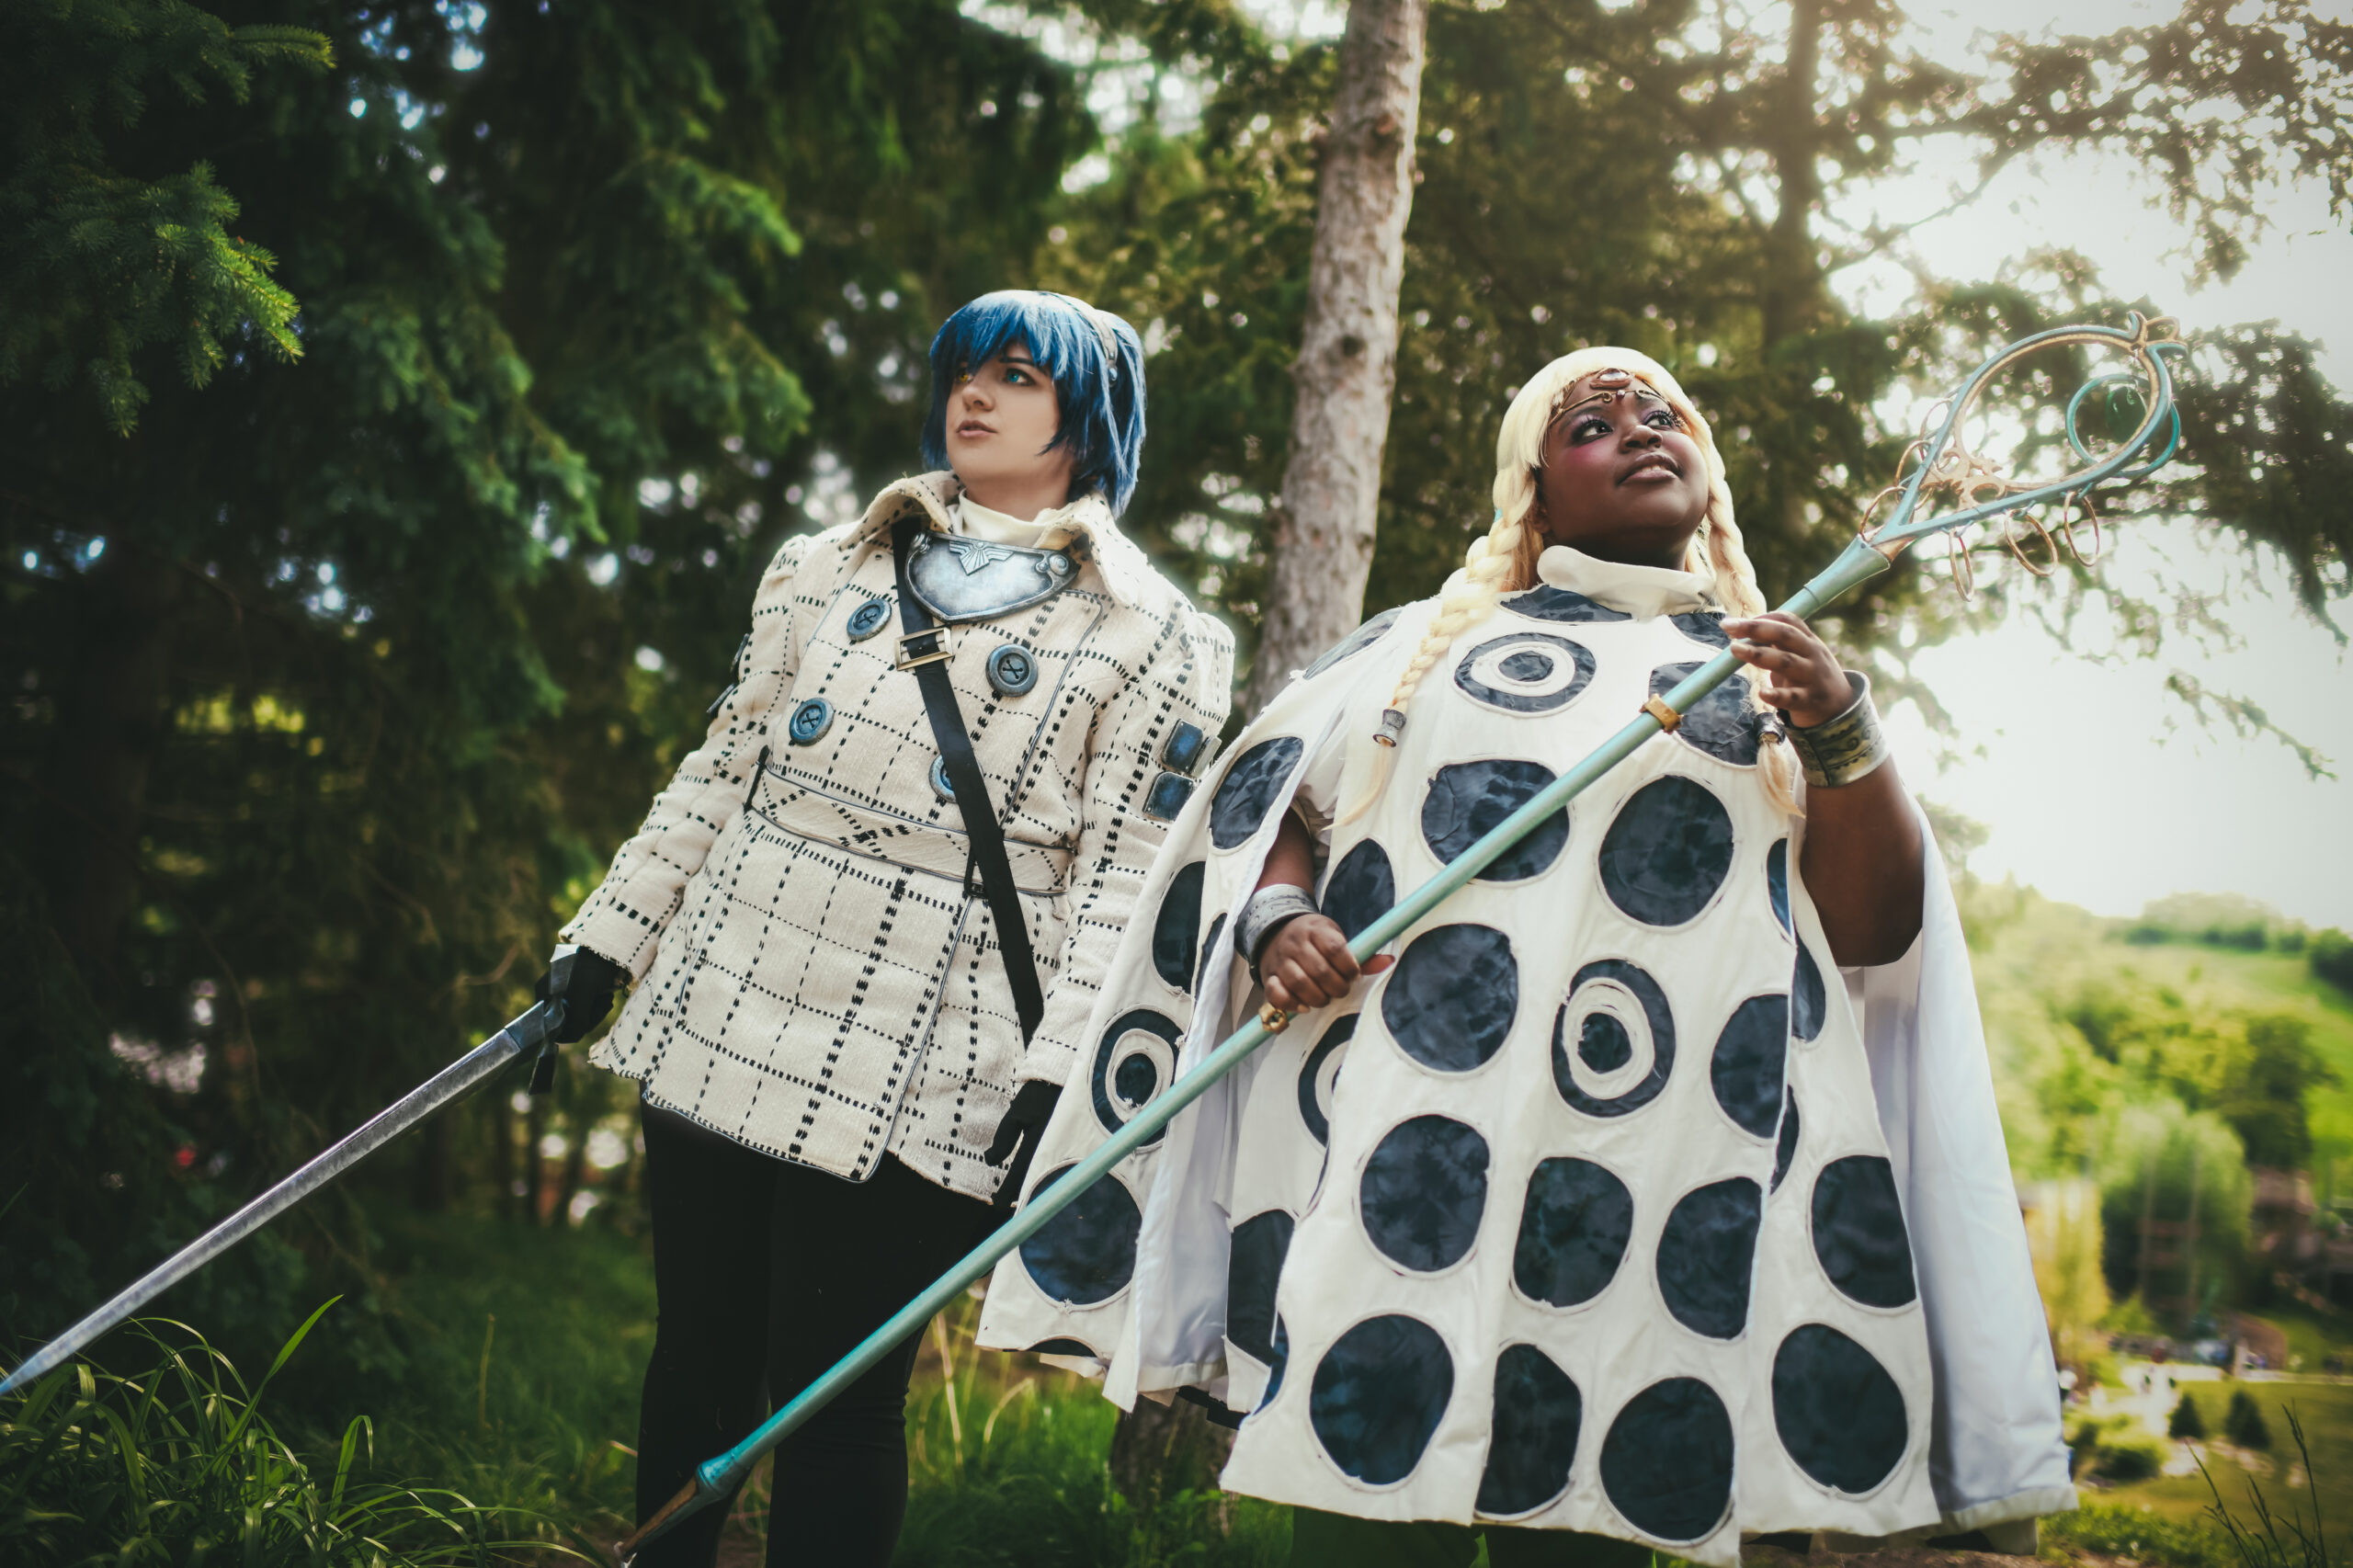
Cloak
The cloak pattern started as my Witch Hat cloak from a couple years ago, basically with a changed neckline and expended hem. The cotton velvet adds a beautiful texture with more weight than other flocked fabrics. For the circles decorating the garment I cut out over 100 circles of rayon satin, dyed first a base gray then dyed black with some shibori techniques.
To attach them I tacked them down with tacky glue, covered the seams with macramé cord for more texture, then appliqued ontop for security.
The whole thing is lined with a white polyester, save for the collar which has silk I found in my stash.
Dress
I modeled her dress after a camicia, a style of chemise from the the renaissance period, again for the high fantasy look. Just as most extant garments mine is also made from linen and features felled seams and cartridge pleats. A lot of the construction was cutting rectangles 2 or 4 times my body measurements so I could no math the pleats.
Bracelets
Typically I finish my 3D prints with rounds of primer or thinned modeling paste but as I had an old bottle of XTC3D I wanted to toss I went with that method to cut down on finishing. The base was primed with flat black, then silver and black Rub N Buff was buffed in. It didn’t take much oil paint to bring out the details of the model.
Hoses
I like to throw a lot of real world inspirations into my cosplays so instead of tights I chose to make medieval style hoses (to pull in the Mod fantasy inspo from the game). I found a wool twill and dyed a less highlighter version of her green using Acid dyes. Luckily there are several tutorials out there on how to pattern hoses from historical reenactors. The most imortant thing is to have your fabric on the basis.
Staff
The file came from Dangerous Ladies, as usual. After sanding and priming, I painted the gold parts with a gold rattlecan while the blue got a mix of several metalics from folk art thinned to go through my airbrush. But it didn’t end there. I had visions of this piece being passed down through Eupha’s lineage, and wanted it to match. I found this special tow part crackle paint, the Penart Fineline crackle varnish, which is meant to mimic the lines commonly found in old ceramics. After following instructions and applying a little heat with my hairdryer I highlighted the cracks with oil paint which also helped tone down the silver blue.
For the gold I followed Lutavia cosplay’s technique to mimic old gilding. First a layer of metal leaf was applied, lightly sanded, then highlighted with metallic acrylics.
I decided to interpret that highlighter green dangle as a jade piece. I sponged on various greens and creams acrylics on the base but the true effect comes from the resin topcoat I did as a dirty pour (the colorants weren’t mixed properly before pouring)
Helmet
The Helmet was generously gifted to me by a friend who planned to cosplay Eupha but ended up not. She purchased the file from Dangerous Ladies, and did most of the finishing but I gave it a quick clean up when it came into my hands. I sponged on various shades of silver to match my other accents and weathered it with a black acrylic wash.
The eyes were made of silk scraps painted with some metalic paint for sheen, then glued onto a black mesh to allow me to see out.